Documentation Index
Fetch the complete documentation index at: https://hc.starbridge.ai/llms.txt
Use this file to discover all available pages before exploring further.
Overview
Starbridge’s integration with Zapier allows you to send information from any type of Bridge to Zapier, which allows you to build connected workflows with the 7,000+ applications that support Zapier integrations. Some examples of use cases for Zapier include:- Triggering a Slack notification to your sales team every time a new meeting mention occurs.
- Syncing Contacts to an outbound tool like Hubspot or Salesloft directly.
- Triggering a custom webhook to take actions inside your own infrastructure.
Supported triggers for a Zap
Starbridge supports two options for when a Zap will trigger:- New row
- Updated row
The Zap triggers whenever a new row is added to your bridge. The Zap only triggers for that row.
Setup
Start a Zap in Zapier
Go to the Zapier page for Starbridge and start a Zap. Make the first step of your Zap a connection to Starbridge.
Provide a Starbridge API key (first-time setup)
If this is your first time creating a Zap for Starbridge, Zapier will prompt you for a Starbridge API key. Generate keys in Starbridge under Settings → API Keys.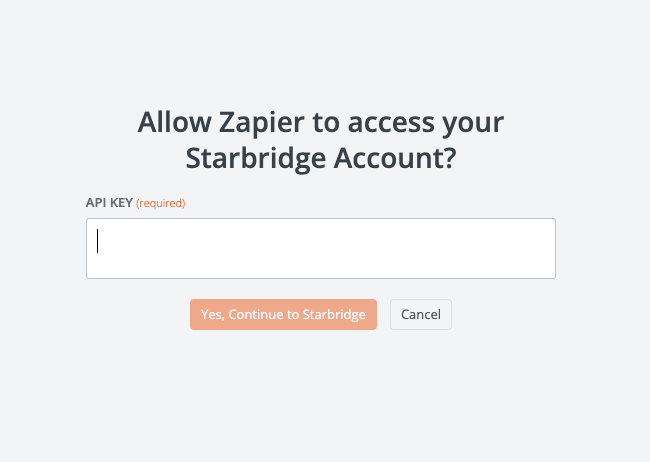
Select a bridge and configure the Zap
Once your Starbridge account is connected to Zapier, you’ll be able to select which bridge you want to use as the input to your Zap.You will also be prompted to select a label for this Zap, which will appear in Starbridge in the bridge you’ve selected to help you identify which Zap you’re configuring.After you test your Zap, you’ll be able to see the full schema of your bridge in Zapier and configure subsequent steps in your workflow.
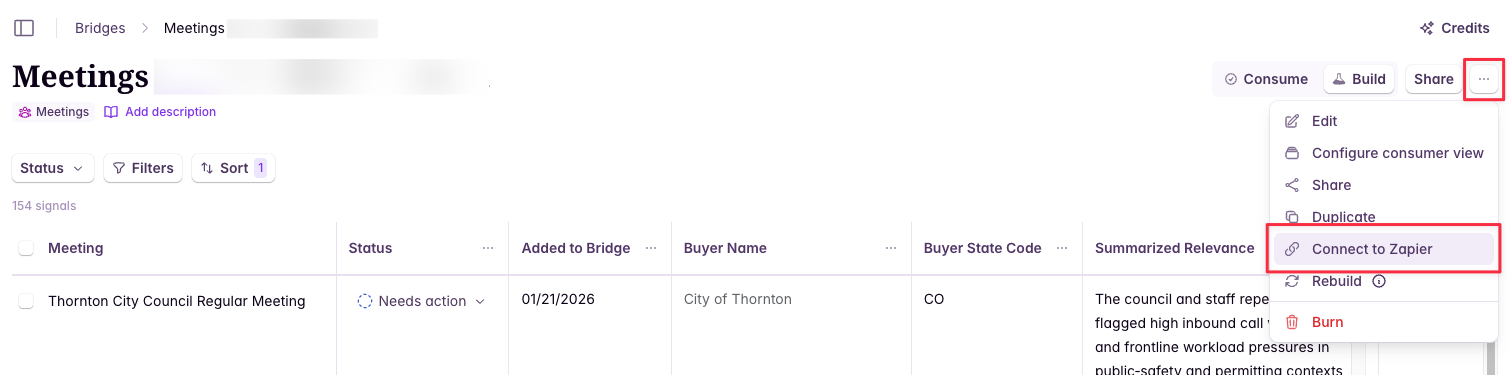
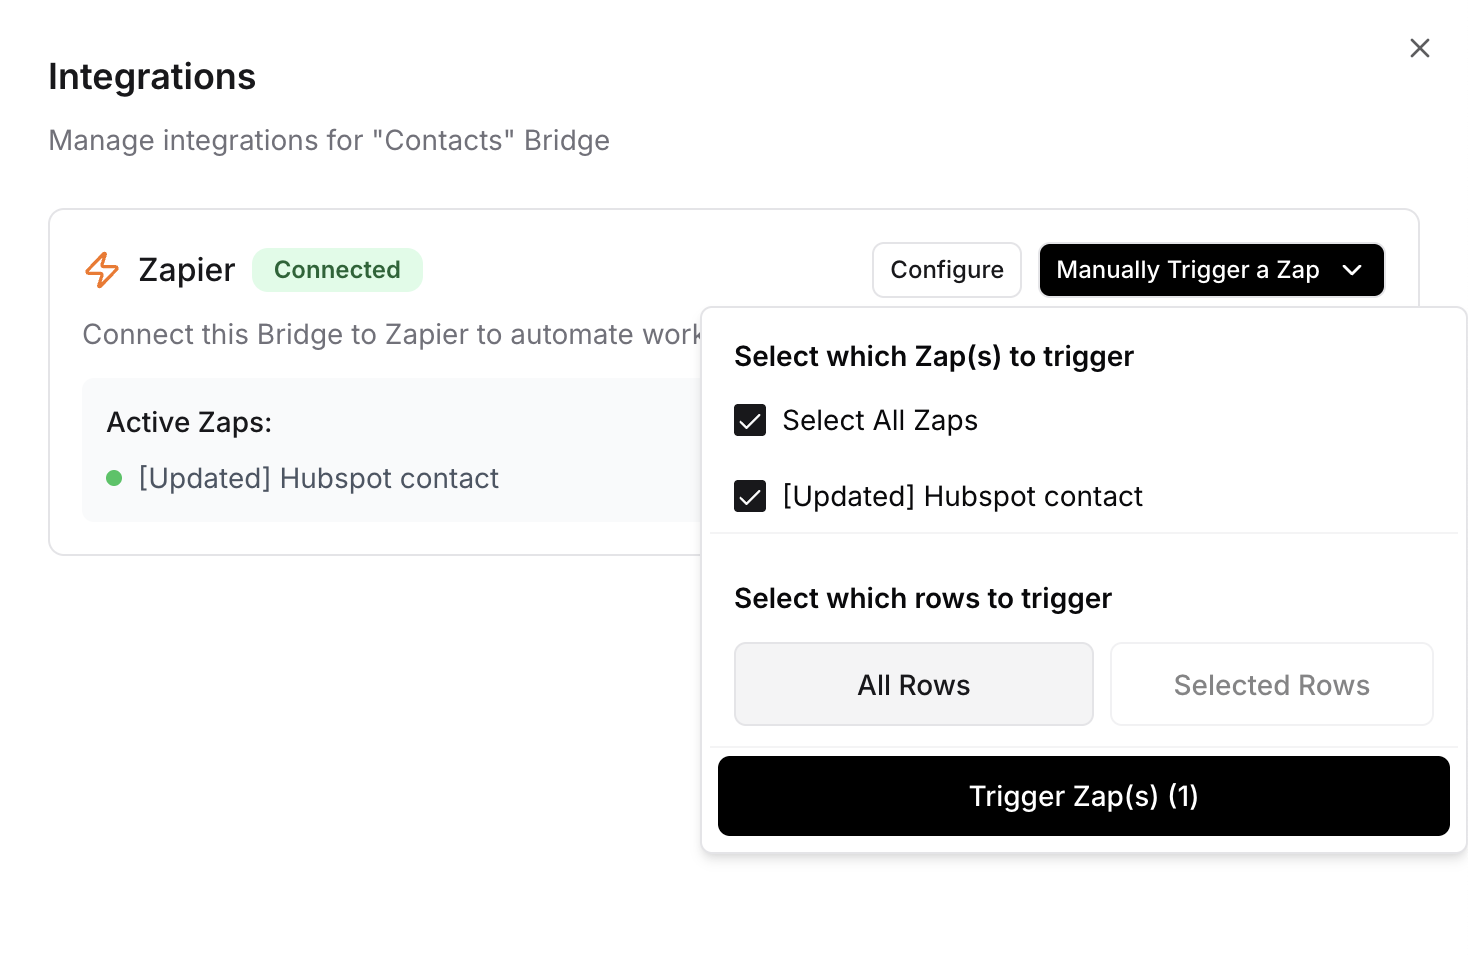
Triggering your Zap manually
In addition to your Zap triggering automatically, you can also trigger sending specific rows to your Zap manually.Choose which Zap(s) and rows to send
From the integrations panel, you can select which Zap(s) you want to trigger (if your bridge is connected to multiple Zaps) and which rows you want to send.